We show you how to do it on Mac and Windows
If your computer is used by multiple users, you’ve likely had the need to hide certain files on your computer. There are many ways to do that and one of them is to hide your files in a JPG picture.
You can actually embed your files in any JPG picture and all that users will see is just the picture itself. There are no signs of your hidden files and people won’t even know there’s something hidden in your JPG photos. However, if someone looks at the size of this picture, they might find it suspicious as this picture will be over-sized due to the hidden files in it.
Table of Contents
You can hide your files in a JPG picture on both Windows and Mac machines.
Use Command Prompt To Hide Files In a JPG Picture (Windows)
If you’re a Windows user, you can use a command in the Command Prompt to hide your files in an image. This command combines both the files that you want to hide and the image that you choose to use in a single image file.
When you open this image file, it appears as a regular image with nothing indicating there are files hidden in it.
Keep a JPG photo ready with you on your desktop as you’ll be hiding your files in it.
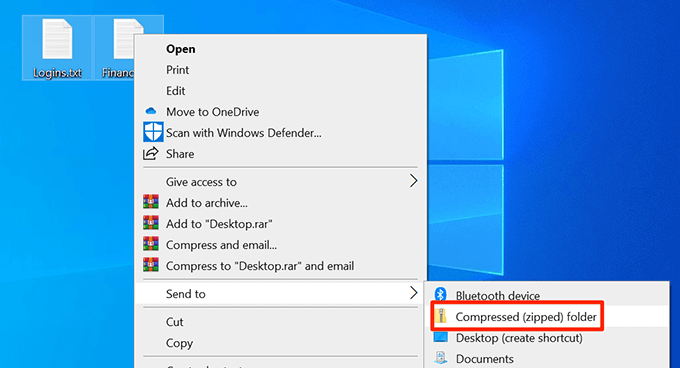
- You’ll need to add the files that you want to hide to a ZIP archive. To do this, right-click on your files, click on Send to, and choose Compressed (zipped) folder.
- Move the ZIP file to your desktop.
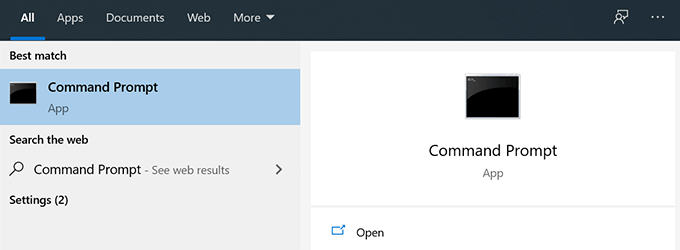
- Use the Cortana search to search for and open the Command Prompt.
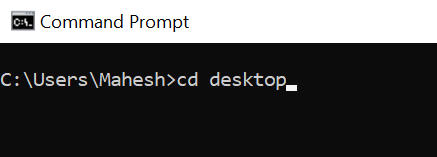
- Type the following command to make your desktop the current working directory.
cd desktop
- Enter the following command to hide your files in a JPG picture.
copy /b source-image.jpg + your-archive.zip target-image-file.jpg
Here’s what each part in the command means:
source-image.jpg – this is the image that you already have on your PC and that you want to hide your files in.
your-archive.zip – this is the ZIP file containing the files that you want to hide.
target-image-file.jpg – this will be the resulting file that contains your image and your ZIP archive.

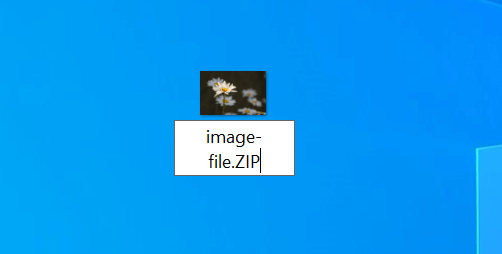
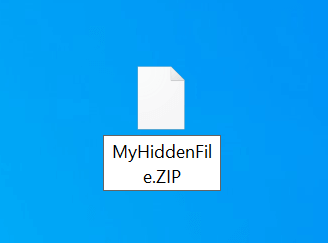
- When the command is executed, a new JPG image file will appear on your desktop. It contains the files you wanted to hide in a JPG.
Unhide Hidden Files
You don’t necessarily need to use the Command Prompt to unhide files hidden in a JPG photo.
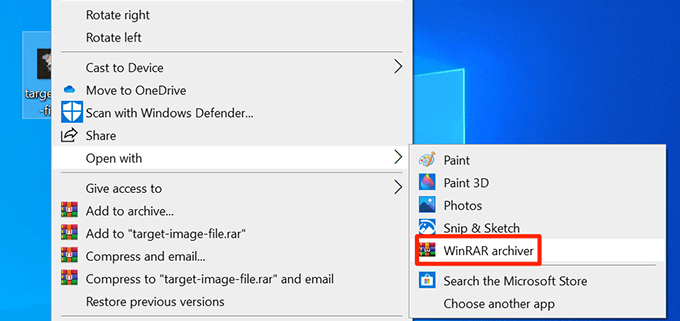
- To unhide your files, right-click on the JPG image where your files are hidden, select Open with, and choose WinRAR archiver.
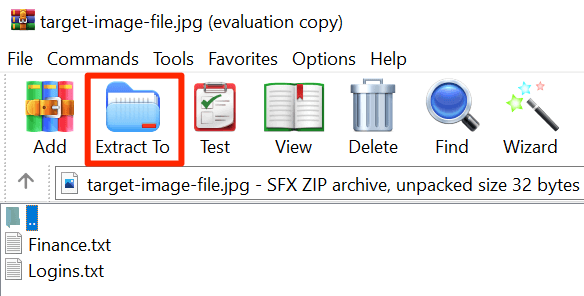
- You can click on the Extract To button to extract files from the archive and save them to a folder on your PC.
- Another way to unhide files is to change the extension of your JPG image. To do this, right-click on your photo, select Rename, and change the extension to ZIP.
- You can double-click on this renamed ZIP file to extract the hidden files.
Use An App To Hide Files In a JPG Picture (Windows)
If you don’t want to use the Command Prompt, there’s an app with a graphical user interface to hide your files in an image on your PC. It’s a completely free app and you can use it to both hide as well as unhide files.
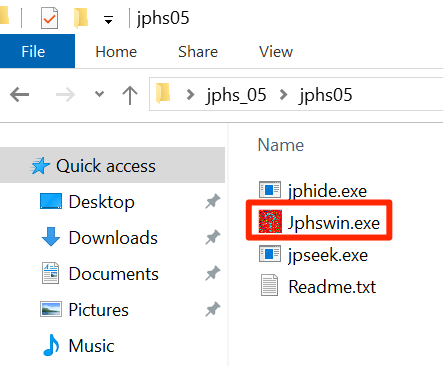
- Download and extract the JPHS for Windows app on your computer.
- Launch the Jphswin.exe file by double-clicking on it.
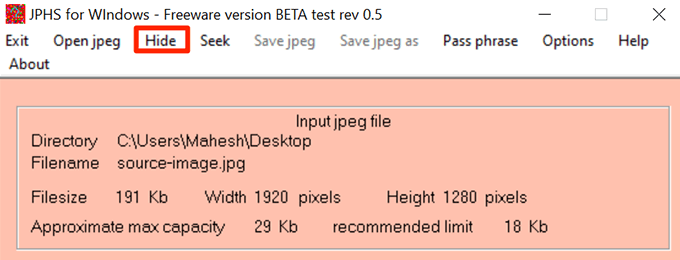
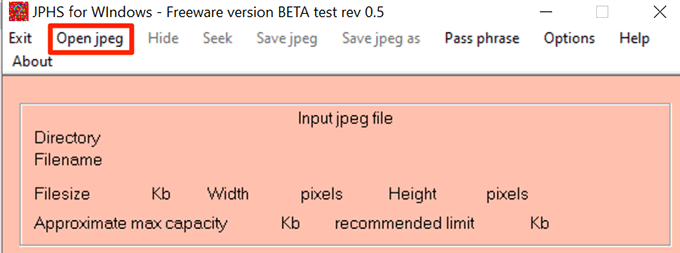
- On the main app interface, click on the Open jpeg button to load your source image.

- Navigate to where your image is located and double-click on it to add it to the app.
- Click on Hide in the app’s menu bar.
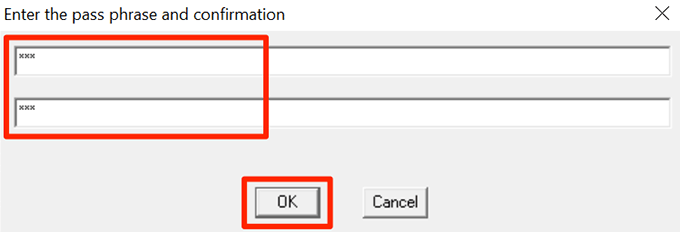
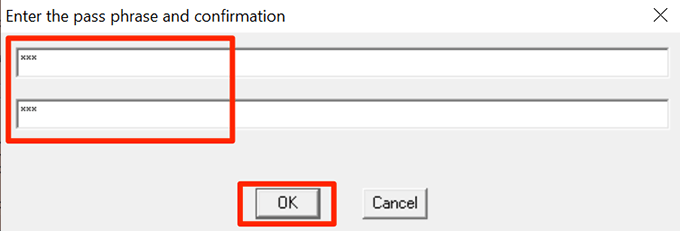
- It’ll ask you to enter a password to hide your files. Enter a password in both the fields and click on OK.
- Choose the files that you want to hide in your JPG picture.
- When you’re back to the main interface, click on Save jpeg as in the menu bar to save your file.
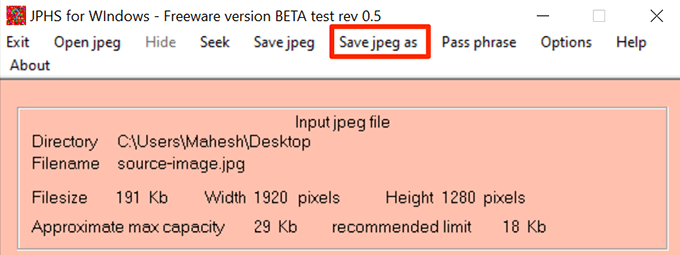
- Select a folder to save your JPG image with your hidden files in it.
Unhide Hidden Files
You can use the same JPHS for Windows app to unhide your files.
- Open the Jphswin.exe file.
- Click on the Open jpeg button in the menu bar.
- Select the JPG image where you’ve hidden your files.
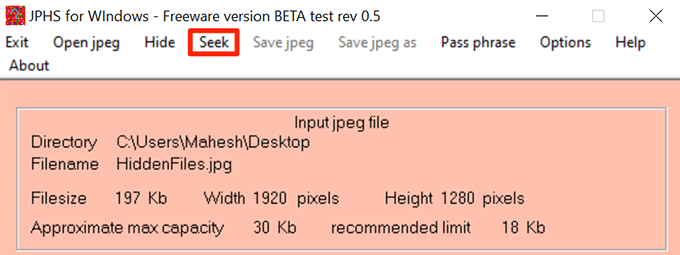
- When your image is loaded in the app, click on Seek in the menu bar.
- Enter the password that was used to hide the files and click on OK.
- Choose the folder where you want to save your files.
- Right-click on the file that you just un-hid, select Rename, and change the extension to what it was before you hid the file. The file won’t open if you don’t do this.
Use Terminal To Hide Files In a JPG Picture (Mac)
If you’re on Mac, you can use a command with the Terminal to hide your files in a JPG image. This method works pretty much the same way as the Windows one.
Make sure a JPG photo is available on your desktop. You can grab one from any website if you don’t already have anything to start with.
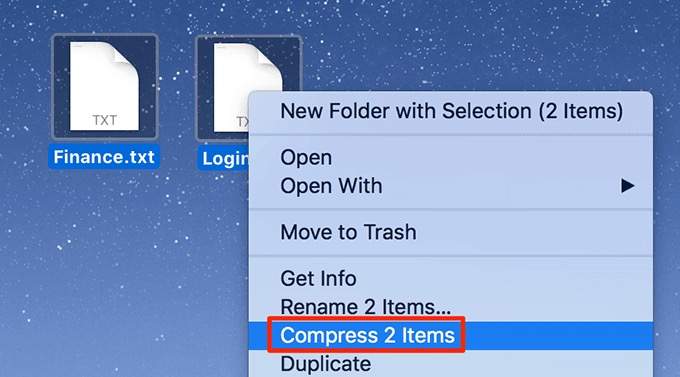
- Begin by adding the files you want to hide to an archive. You can do this by right-clicking on your files and choosing Compress. This’ll create a ZIP archive in the same folder as your files.
- Copy the ZIP archive to your desktop.
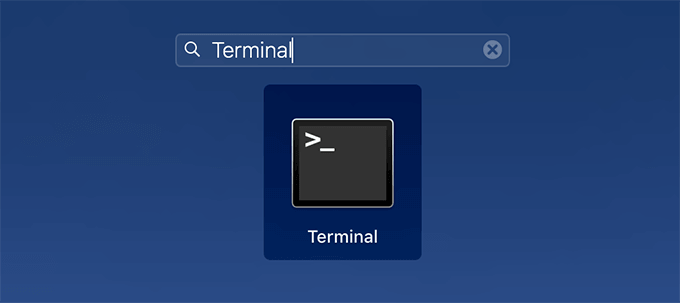
- Click on Launchpad in the Dock, search for Terminal, and open it.
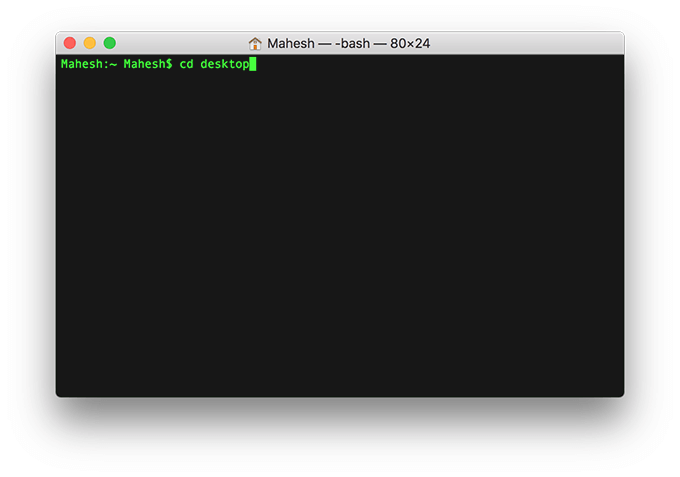
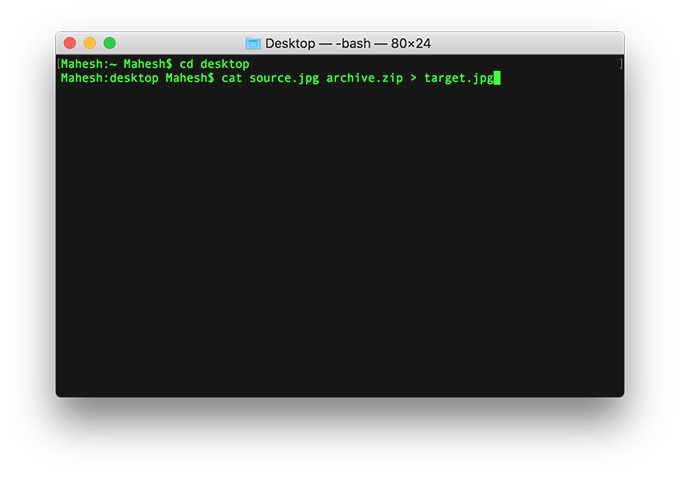
- Enter the following command to make your desktop the current working directory.
cd desktop
- Use the following command in Terminal to hide your files in a JPG picture.
cat source.jpg archive.zip > target.jpg
Here’s what each parameter in the command means:
source.jpg – this is the image file that you already have on your desktop.
archive.zip – this contains the files you want to hide.
target.jpg – this’ll be the resulting file containing both your image and hidden files.
- To verify if your files are indeed hidden inside your JPG image, right-click on the newly produced image and select Get Info. You’ll see that its size is now larger than before which confirms your hidden files are really in there.

Unhide Hidden Files
You’ll need to use the Terminal to extract files from your image file.
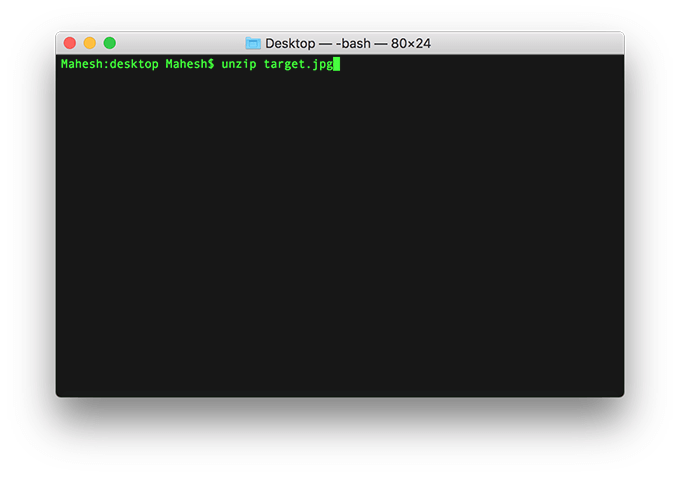
- Open the Terminal on your Mac.

- Run the following command in the Terminal. Make sure to replace target.jpg with the actual name of the image where your files are hidden.
unzip target.jpg
Use An App To Hide Files In a JPG Picture (Mac)
Mac users have a free app available called Steg to hide files in a JPG image. It has a nice graphical user interface to let you hide and unhide files in JPG photos on your machine.
- Download the Steg app and launch it on your Mac.
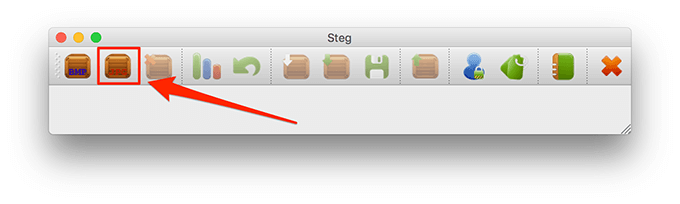
- Click on the second icon that’s for Open JPEG image to load your JPG file into the app.

- Select the JPG file in which you want to hide your files on your Mac.
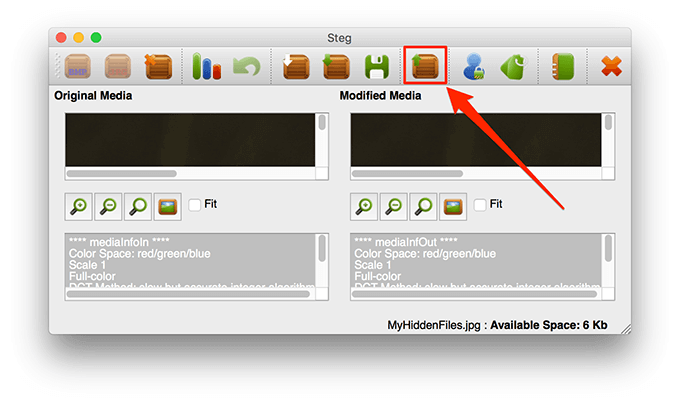
- Click on the Hide Data option to add files for hiding.
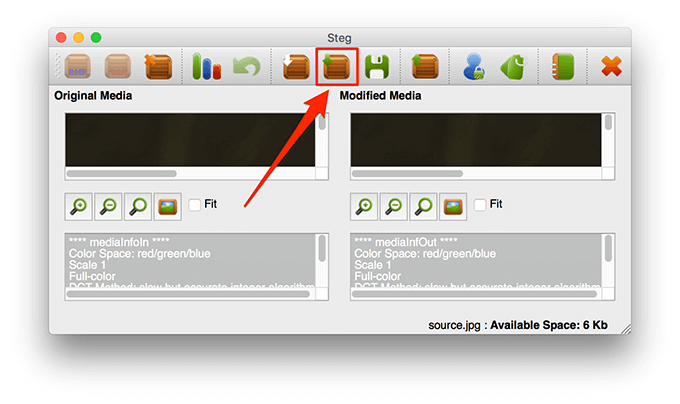
- Select the files that you want to hide inside your JPG image.
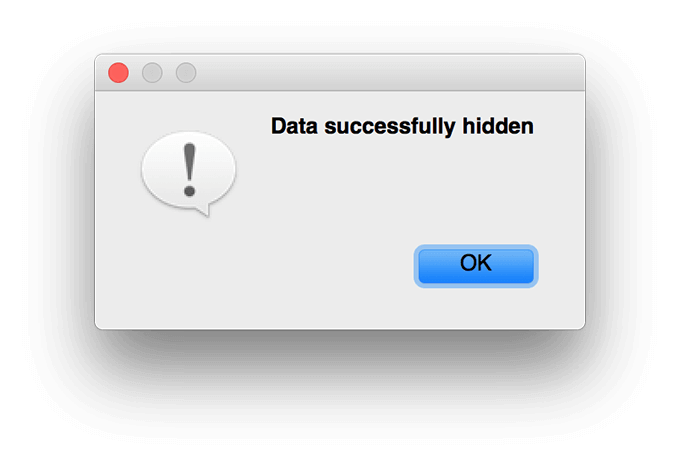
- You’ll get a notification saying Data successfully hidden. Click on OK to continue.
- Click on the Save option to save your JPG image with your hidden files in it.

- Choose the destination for your JPG file.
Unhide Hidden Files
You need to use the same Steg app to unhide your files on your Mac.
- Open the Steg app and click on Open JPEG image.
- Select the JPG image in which you’ve hidden your files.
- Click on the Extract Data option in Steg to extract your hidden files.
- Choose the folder where you want to save the extracted files.
What do you think of this not-so-common way of hiding files in a JPG? Let us know your thoughts in the comments below.