More secure than having no password
Security or convenience? It seems like we can’t have both, so we must decide what’s most important to us. If convenience wins out and Windows is reasonably secured, then being able to auto-login to Windows can be helpful. It’s also more secure than using Windows without a password. We can configure auto-login for Windows 10 computers joined to a domain or stand-alone units.
Enable Auto-Login for Windows 10 Using SysInternals Autologon
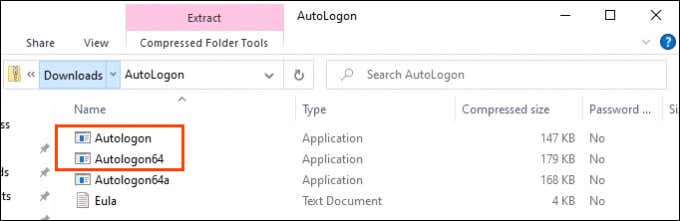
Using SysInternals Autologon is the simplest, easiest way to enable auto-login in Windows 10. SysInternals Autologon is a small application provided by Microsoft. There’s a suite of SysInternals tools to help with many things, including troubleshooting Windows. Head to the Autologon download page, download the file, and unzip the folder.
Table of Contents
- Select the correct Autologon version for the computer. Plain Autologon is for 32-bit Windows and Autologon64 is for 64-bit windows.
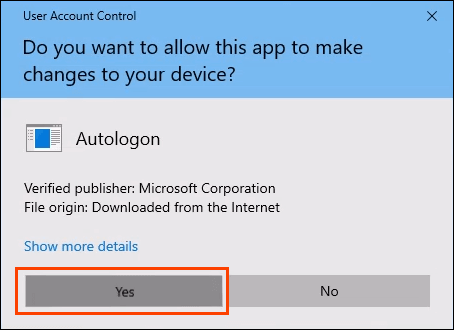
- A User Access Control (UAC) window will open asking for permission to run the app. Select Yes.
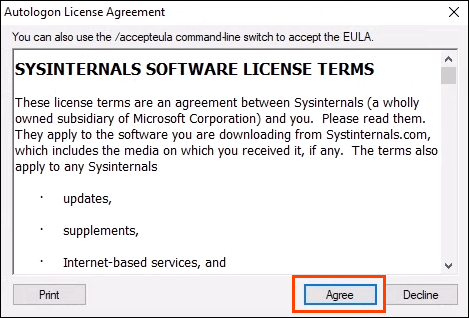
- The Autologon License Agreement window opens. Read and select Agree to continue.
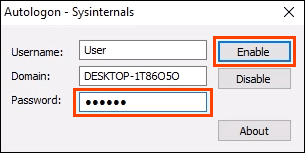
- Autologon will already be filled in with the Username and Domain. Enter the Password for the user and select Enable.
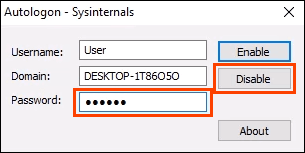
To disable auto-login later, just open Autologon and select Disable.
Enable Auto-Login for Windows 10 Workgroup PC Through Settings
Maybe we don’t want to use an app to enable auto-login for some reason. That’s okay, this can be done manually, too.
- Press Windows Key + R to open the Run panel.
- Type <pre>netplwiz</pre> and press Enter. The User Accounts window will open.

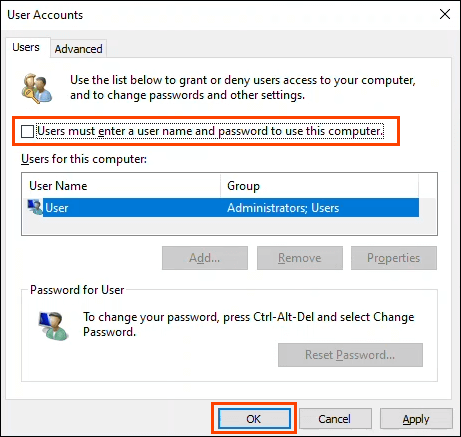
- Uncheck the box that reads Users must enter a user name and password to use this computer. Select OK.
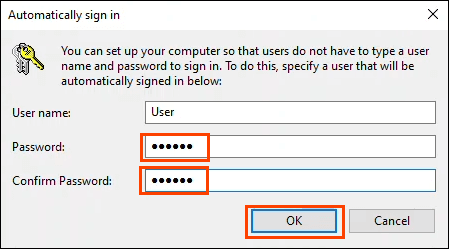
- The Automatically sign in window will open, pre-filled with the user name. Enter the Password and Confirm Password.
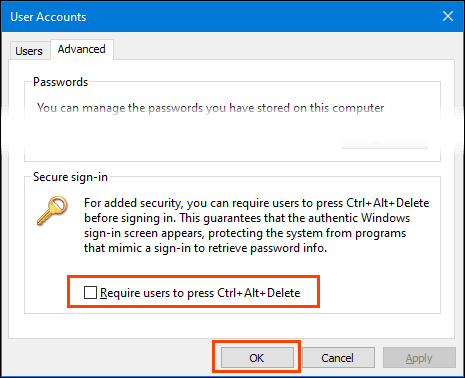
Once we’re back in the User Accounts window, select the Advanced tab. Find Require users to press Ctrl + Alt + Delete to login and make sure it’s unchecked. Select OK and on the next login, Windows won’t ask for a password.
How to Enable Require Users Checkbox
What if the checkbox isn’t there? That’s common in Windows 10. There are a few ways to get the checkbox back, but only one way guaranteed to work. It requires editing Windows Registry. Always make a backup of the registry before making any changes.
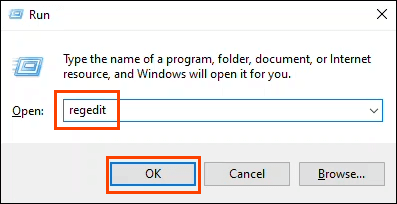
- Press Windows Key + R to open the Run panel.
- Type regedit and press Enter.
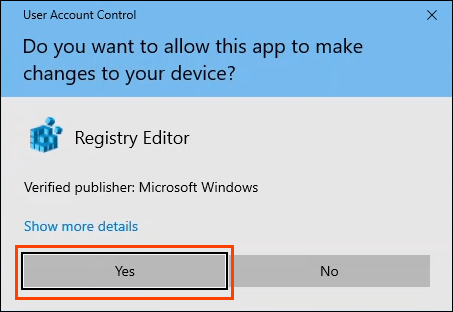
A User Account Control (UAC) window opens asking, Do you want to allow this app to make changes to your device? Select Yes.
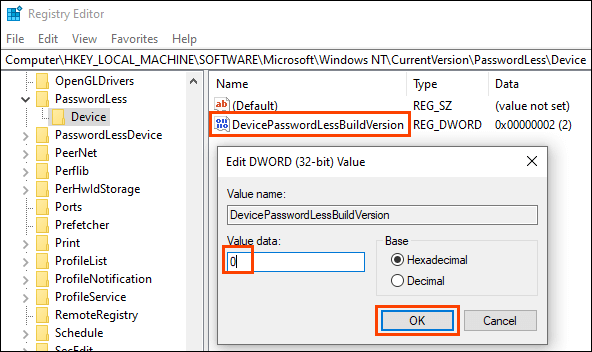
- When the Registry Editor window opens, navigate to HKEY_LOCAL_MACHINE > SOFTWARE > Microsoft > Windows NT > CurrentVersion > PasswordLess > Device.
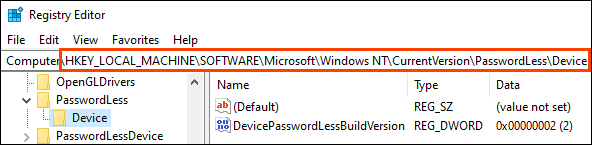
- Double-click on the DevicePasswordLessBuildVersion key and change the Value data from 2 to 0. Select OK.
Close the Registry Editor and restart the computer.
If the registry key doesn’t exist, it can be created. Open the CMD prompt or PowerShell as Administrator.
Enter the command reg ADD “HKLM\SOFTWARE\Microsoft\Windows NT\CurrentVersion\PasswordLess\Device” /v DevicePasswordLessBuildVersion /t REG_DWORD /d 0 /f and press Enter.

When the response The operation completed successfully appears, restart the computer.

- Once the computer has restarted, go through the steps related to using the netplwiz command above. The Users must enter a user name and password to use this computer checkbox is now there.
Enable Auto-Login for Windows 10 PC in a Domain
This isn’t recommended for everyday use. Enabling auto-login without the proper security precautions can compromise the domain. It might be useful for a display system though, like in fast-food restaurants or airports.
In case of a power outage, the devices would automatically log back in when restarted. The ideal situation is to have an uninterruptible power supply (UPS) on the devices.
The changes we’ll make can be done as a Group Policy Object (GPO) that can be applied as needed within the domain.
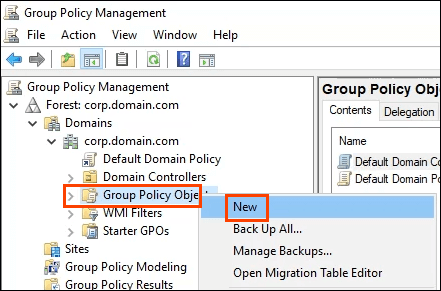
- On the domain controller, open Group Policy Management and navigate to Domains > YourDomain > Group Policy Objects. Once there, right-click on Group Policy Objects and select New.
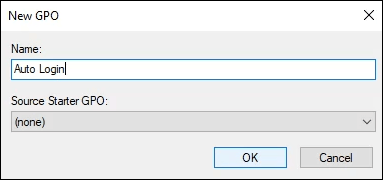
- Enter a descriptive name, like Auto Login, for the new GPO and select OK.
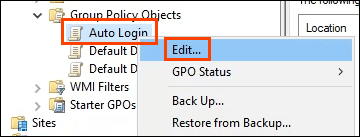
- Right-click on the Auto Login GPO and select Edit…
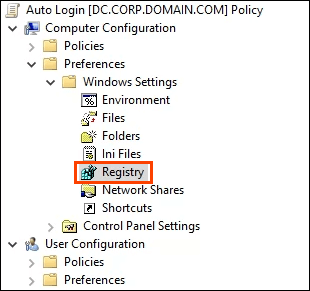
- The Group Policy Management Editor opens. Navigate to Computer Configuration > Preferences > Windows Settings > Registry.
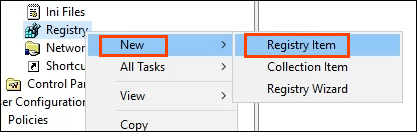
- Right-click on Registry and select New > Registry Item. We’ll create 5 registry keys with this part of the process. We’ll go through the first one. Repeat the steps accordingly for the other 4 registry keys with the properties provided below.
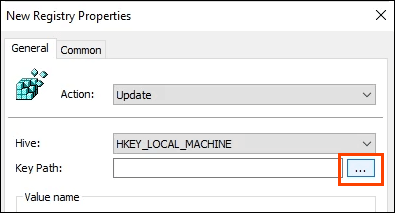
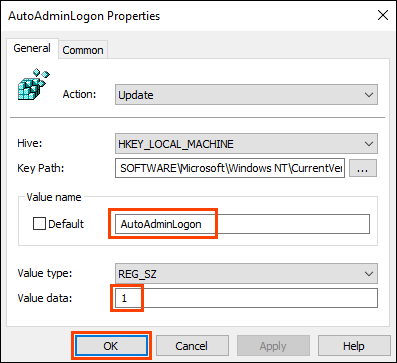
- In New Registry Properties, leave Action as Update and Hive as HKEY_LOCAL_MACHINE (HKLM). Select the ellipses or three-dots (…) next to the Key Path field. The Registry Item Browser window opens.
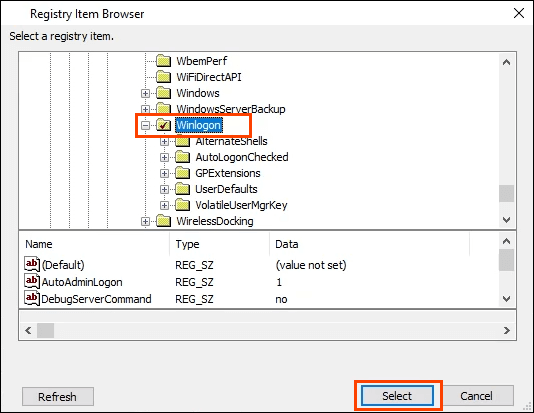
Navigate to HKLM > SOFTWARE > Microsoft > Windows NT > CurrentVersion > Winlogon then choose Select to set that as the path for the key.
- Back in the New Registry Properties window, enter AutoAdminLogon in the Value Name field. Leave Value type defaulted to REG_SZ and enter 1 in the Value data field. The 1 means enable AutoAdminLogon. If we wanted to disable it, we’d change that to zero (0). Select OK to set the registry setting in the GPO.
Repeat steps 5 to 7 using the following values:
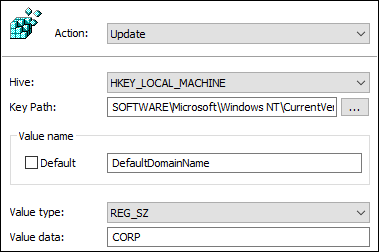
To set the domain name to be used by autologon:
Key Path: HKLM\SOFTWARE\Microsoft\Windows NT\CurrentVersion\Winlogon
Value type: REG_SZ
Value Name: DefaultDomainName
Value data: YourDomainName – in this example, it’s CORP
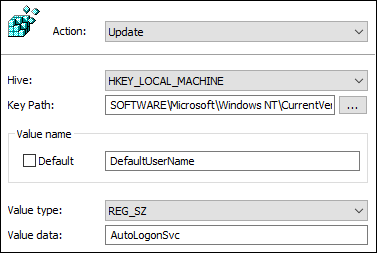
To set the default username used by autologon:
Key Path: HKLM\SOFTWARE\Microsoft\Windows NT\CurrentVersion\Winlogon
Value type: REG_SZ
Value Name: DefaultUserName
Value data: YourUsername – in this example, it’s AutoLogonSvc
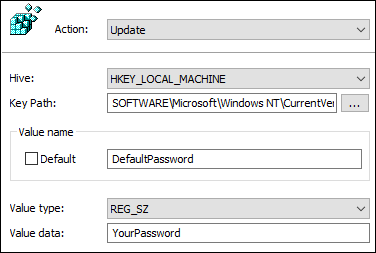
To set the default password used by autologon:
Key Path: HKLM\SOFTWARE\Microsoft\Windows NT\CurrentVersion\Winlogon
Value type: REG_SZ
Value Name: DefaultPassword
Value data: The password of the user set in the previous key
To prevent the username from being shown on reboot:
Key Path: HKLM\SOFTWARE\Microsoft\Windows NT\CurrentVersion\Winlogon
Value type: REG_SZ
Value Name: DontDisplayLastUserName
Value data: 1

- Once the keys are created and in the order shown below, apply the GPO in the Group Policy Management window by dragging and dropping it on the desired groups.

The next time the devices are restarted, they’ll pick up the GPO and apply it within their registry.
Notice that the password was stored in plain text. Be tremendously cautious about using autologon in a domain. If anyone can open the Registry Editor, they can read the password and username. They will now have access to anything accessible with those credentials. Two precautions can be taken; prevent anyone from accessing the registry editor and use a service account with limited permissions for the autologon.
Will You Use Auto-Login?
Now that you know how to configure auto-login, what are you going to use it on? Do you already use auto-login? If so, in what scenario and have you come across anything we should be aware of? We’d love to hear about it in the comments below.