Boot directly to Windows on a Mac
Installing Windows 7 on your Mac using Boot Camp is a great way to get full performance out of both operating systems. Boot Camp works by partitioning your Mac’s hard drive to use two operating systems, in this case, OS X and Windows 7.
Thus, when you use Windows 7 with Boot Camp, you are simply booting directly into Windows instead of OS X. This is a great way to run Windows on a Mac because it gives all of your Mac’s power (RAM, processor speed, etc.) to Windows.
Table of Contents
With virtualization software, such as VMware Fusion or Parallels, your Mac’s power (RAM, processor speed, etc.) is being distributed between both OS X and Windows.

Decided that Boot Camp is for you? Here are some things that you will need before getting started:
- An Intel based Mac
- Mac OS X 10.6 Snow Leopard install disc (the discs that came with your Mac or a retail copy of OS X)
- At least 16GB of free hard drive space (recommended by Apple)
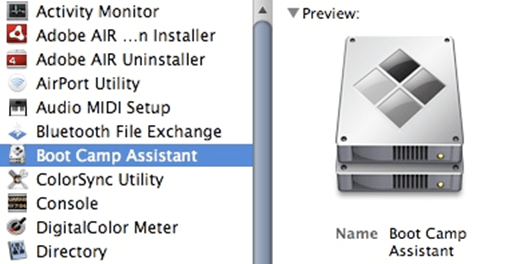
- Boot camp assistant (should be on your Mac already, located at Finder > Applications > Utilities)
- A genuine Microsoft Windows 7 install disc

Installing Boot Camp and Windows 7
*Apple just recently released an official Boot Camp update for Windows 7. Doing a software update (click the Apple logo, select software update from the drop down menu) should automatically get you this update. But just to be sure, you can get it here).*
Step 1: Navigate the path Finder > Applications > Utilities. Double click the Boot Camp Assistant icon to launch it.
Step 2: Click Continue on the Boot Camp Introduction screen to proceed to the next step.

Step 3: Step 3 is the partitioning of your Mac’s hard drive. For Windows 7, Apple recommends using at least 16GB to hold Windows 7. Most likely, you do not need this much space to actually install Windows 7.
However, if you plan on installing any programs within Windows, or having any significant amount of files on Windows, be sure to partition your hard drive accordingly.
Click the Partition button. Wait for Boot Camp Assistant to partition your hard drive. Once it finishes, you should have a BOOT CAMP drive icon on your desktop.

Step 4: Insert your Windows 7 install disc into your Mac’s DVD drive and wait for it to load and recognize. Click the Start Installation button from the Boot Camp Assistant screen.

Step 5: Your Mac should automatically restart and boot into the Windows 7 installer, rather than OS X. The next screen that you come to will be a prompt screen, allowing you to choose which partition to install Windows 7 on.
Make sure that you select the BOOT CAMP PARTITION that you just created, by clicking on it once to select it. Click the link that says Drive options (Advanced). Click the Format button. A prompt screen should pop up saying “This partition might contain…”. Click OK.
Step 6: Windows should now be installing on your computer. Throughout the installation process, Windows will reboot itself a couple of times and you will be required to eject the install disc from your Mac’s DVD drive.
Do this and let Windows, finish installing completely. Fill out your Name, language, etc. Upon successfully installing Windows 7, you need to do a Windows Update to get the latest fixes and Windows released drivers. Restart your computer before proceeding to the next step.

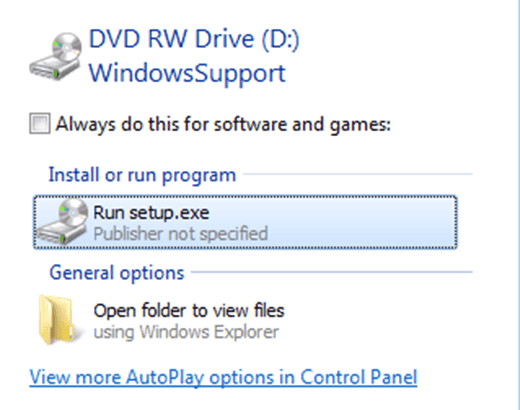
Step 7: Once Windows boots back up, you need to install a couple of additional drivers. Insert your Mac OS X disc into your Mac’s DVD drive and wait for it to load. Click the Run setup option from the prompt window.
 Step 8: Click Next on the first screen of the Boot Camp window. Accept the terms and click the Next button again. Put a checkmark next to Apple Software Update for Windows. Click the Install button.

Step 9: Let the installer complete, it may take a couple of minutes. After it completes, click the Finish button to exit out of the Boot Camp installer window.

Step 10: Eject the Mac OS X install disc from your computer and restart your computer.
Using Boot Camp: That’s all there is to it. Boot Camp and Windows 7 should now be running on your Mac. Upon powering on your computer (right when you hear the chime), hold down the option key on your Mac to go to the boot menu. From here, you can choose if you want to use OS X or Windows 7.