If you don't use it, get rid of it
Smartphones come with many pre-installed apps that are designed to increase convenience or functionality. The problem is that they aren’t always desirable, and smartphone companies like to make them hard to remove. So, if you’re looking to remove Samsung Pay, we understand why.
In recent Android versions, Samsung has enabled users to easily uninstall or turn off Samsung Pay. If you have an older version, it’s going to be a little more difficult, but we’ll show you how to disable Samsung Pay on them, too.
Table of Contents

Turn Off Samsung Pay
If you just want to prevent Samsung Pay from activating, turning off the app is the easiest way to completely disable Samsung Pay.
- Open the App drawer and find Samsung Pay.

- Open Samsung Pay then tap on the menu icon (three lines) at the top left corner of the app.

- Tap the gear icon at the top-right of the menu.

- Tap on Quick access and default card.

- Toggle off Lock screen, Home screen, and Screen off.

With these settings, Samsung Pay will only activate when you manually open the app and use it.
Uninstall Samsung Pay
If you have a newer Samsung phone, you should be able to uninstall Samsung Pay with little effort.
- Open the App drawer.
- Press and hold the Samsung Pay icon until the menu appears.

- Tap Uninstall and then tap Ok.
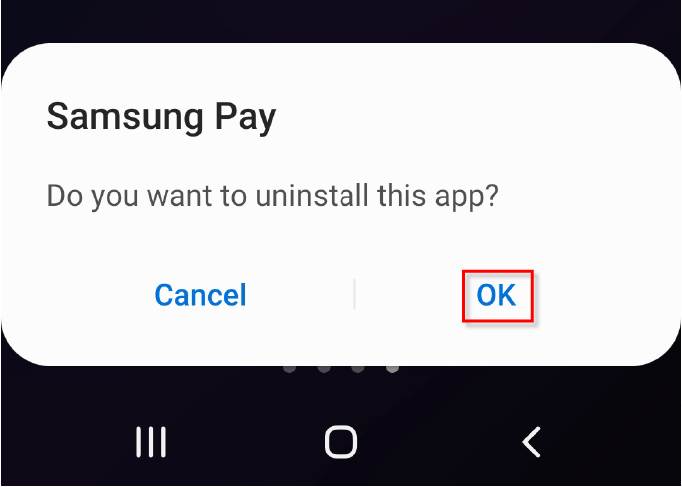
This will completely remove Samsung Pay from your phone.
Note: If you’re uninstalling Samsung Pay to free up space on your phone you can also try deleting temporary files and other junk.
Disable Samsung Pay (Older Versions)
If you’re using an older version of Android and you cannot simply uninstall the Samsung Pay app, the process is a bit more complicated. Firstly, you will have to root your Samsung smartphone. Rooting your Samsung smartphone will void its warranty, so only follow this method if you really need to delete Samsung Pay.
- Open the app drawer by tapping the grid usually found at the bottom-right of the screen.
- Tap on Settings then locate Applications/Apps. You may need to scroll down and tap on More… to find it.

- Tap on Samsung Pay.

- Tap Disable.
Note: The Disable option will only be present once you’ve rooted your phone.
Disabling Samsung Pay this way will prevent it from using resources but will not remove it from your smartphone. To fully uninstall Samsung Pay on an older device, follow the next set of instructions.
Uninstall Samsung Pay With Titanium Backup (Older Versions)
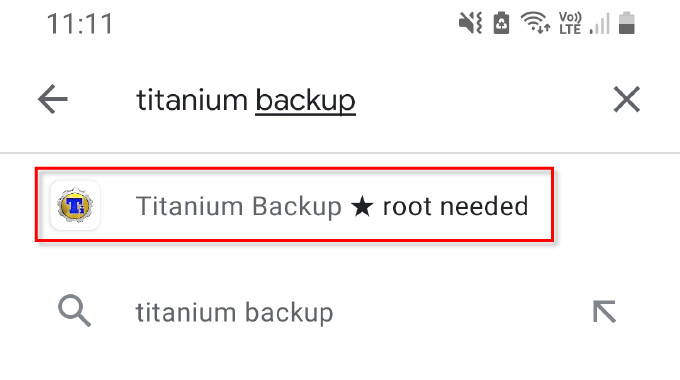
- Open the Play Store.
- Search for Titanium Backup and select the app from the list.
- Tap Install and then Accept.

- Wait for Titanium Backup to finish installing and then select Open.

- Scroll down in the list of apps and find Samsung Pay.
- Tap on Samsung Pay, then select Uninstall.
Note: If you want to reinstall Samsung Pay at any time you will simply have to download it from the Google Play Store.
Revoke Permissions for Samsung Pay
If you don’t want to root your phone, you can still disable Samsung Pay to prevent it from popping up or using as many system resources. The easiest way to do this is to revoke its permissions as follows.
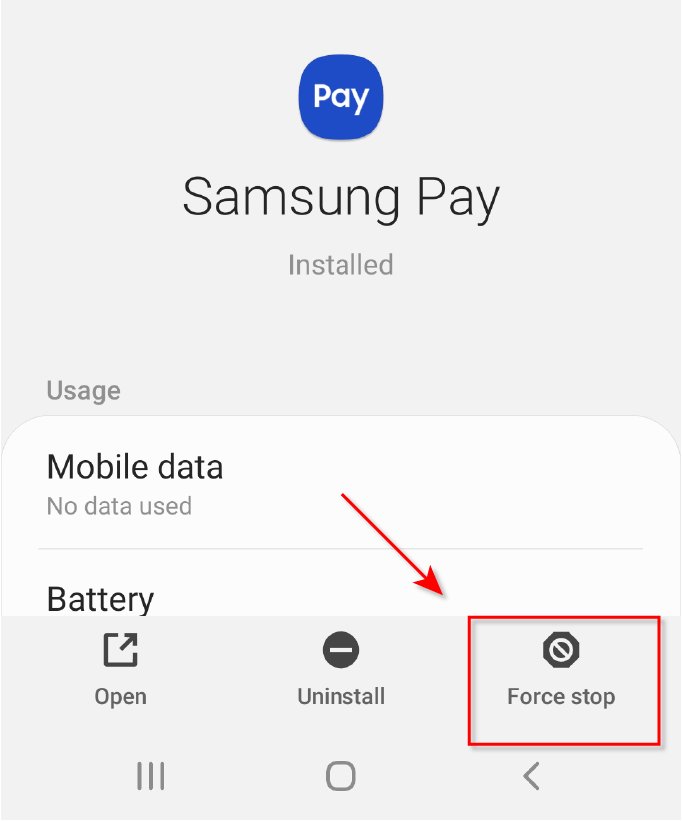
- Go to Settings and then tap Apps. Depending on your device, you may also need to tap Application Manager.

- Find Samsung Pay, tap on it, then select Force Stop. This option will be either at the top or bottom of the page.
- Go back to the Application Manager, find Samsung Pay Stub and repeat step 2. Depending on your device, Samsung Pay Stub may not be present.
- For both Samsung Pay and Samsung Pay Stub, select Permissions and revoke all of the options.


- Open Google Play Store from the app drawer.
- Select the account Icon at the top-right of the screen, then select Manage apps and device.

- Select Manage.

- Tap on Samsung Pay then click on the three-dot icon at the top-right corner.

- Untick Enable auto-update.

- Finally, return to Samsung Pay and Samsung Pay Stub in the Application Manager.
- Select Storage and select Clear data and Clear cache.

This should prevent Samsung Pay from being a nuisance on your device, but it will still be present on the phone and use a small number of system resources. This method also tends to revert after a few days for some users, so you may like to consider a more final option.
No More Samsung Pay!
Now you know how to disable Samsung Pay on Android. The bloatware included in smartphones can be an unnecessary drain on the device’s battery life, storage, and speed – especially in older phones. Luckily, Samsung has realized that not everybody uses particular apps and has finally allowed users more control over which apps they can keep or uninstall.
Most apps can be removed after rooting your phone, but keep in mind that many of these apps are important to your phone’s function – so don’t delete things if you aren’t sure it’s safe! If your device is still running slowly, try using a cleaning app to free up some space.